Thursday, 3 October 2019

THE WAR ILLUSTRATED No.13 - SECOND BATTLE OF SHOBDON

15. DEATH OF A PHOTOGRAPHER - EAST!

To the east of Shobdon Village, the Ludlow Expeditionary Force (LEF) advance towards the Shobdon
Instructional Centre. These newly raised Jojoban Trillaleurs are commanded by the Rev. Jones,
Chaplain to the Bishops. The Bishop of Lichfield has already departed in support of Mr Hodges
on the centre table.
Major Sir James Barleycorn MC's counter attack goes in. His truck mounted "roadside" bombs try to take out
an Anglican tank and the Jojoban Trillaleurs. A section of Shobdon policemen guard the Instructional Centre.
The mass of armour that is the Ludlow Experimental Armoured Force is at the top of the photograph, to
the left of the infamous Ludlow Light Lancers, already gearing up for another charge.
At this point, we have to announce the sad demise of the 28mm staff photographer recording the action to the east of Shobdon : it may be that he fell to a BUF sniper, but it is equally possible that he got too close to a truck mounted "roadside" bomb as it exploded.

And thus, to the detriment of the historical record, there are no photographs of the first successful cavalry charge ever carried out by the Ludlow Light Lancers! (There have been plenty of unsuccessful attempts). The BUF "not-roadside bomb" strategem having largely failed and the BUF Armoured Car having been incapacitated (thus placed in the large hole, above) the Lancers girded their capacious loins and charged straight through the gates of the Shobdon Instructional Centre, massacring the Ludlow police guards and capturing the Camp Commandant! 

Chaplain Jones swiftly followed up with his infantry sections, occupying the guard houses and living quarters of the Instructional Centre. Liberation for the VIP Prisoners was now at hand!

But where were those VIP prisoners? And where, for that matter, was the bulk of Major Sir James Barleycorn MC's forces? Intelligence had disclosed many more than the trucks, the armoured car, and a section or two of police...

It was at this point that the Major disclosed that "they'd all gone down the pub" in Little Shobdon...Christian protests that "come on, that's not really within the scenario rules, is it?" were met with a disdainful glare and a flourish of Sir James' Military Cross. "I didn't get this by sticking to scenario rules, now did I?".....[note1]

[1] Military commentators have since sought to analyse Sir James' strategy. The concealed move to "The Red Lion" in Little Shobdon was praised for "keeping his force intact in the face of overwhelming numbers", but equally criticised on the basis that, by moving east, he had disabled himself from coming to the aid of Senior Captain Maynard on the "central table", perhaps by putting pressure on the recalcitrant Mr Jones ("We be Shobdon"!). Transcripts of coded messages from the Senior Captain to the Major have proved impossible to decode, consisting as they do of four letter dots and dashes on a repeating basis, and are recorded simply as the "unbreakable Profanity Code". It may be, of course, that the always complicated internal politics of  HMG within the County (the nascent split between "Royalist" and "BUF" being the most obvious example) meant that Sir James never had any intention of supporting the Senior Captain, but was looking to his own interests and long term reputation....

Wednesday, 2 October 2019

THE WAR ILLUSTRATED No.12 - SECOND BATTLE OF SHOBDON

14. MR HODGES' AUDACIOUS GAMBIT


A view of the "centre table" - from Mr Hodges' Pillbox. Shobdon Village is off to the left, where the AA Column is
battling on (and mostly burning). The Government being distracted (and mostly distraught), now is the time for
Mr Hodges' Gambit! He sends his infantry forward, his cavalry into a charge, and launches his Armoured Cars
towards Shobdon Junction, with its all important Bateman Coat of Arms.
Charge! For the true 4th Baron Bateman!
Mr Hodges' "Lash Up Mk1" Armoured Car swerves through Shobdon Junction at speed, only to fall
victim to a BUF A/T Rifle. Heavy shellfire descends on the advancing cavalry....
..as the BUF "Big Gun" in the park of Shobdon Court deals out death. Mr Hodges' cavalry are effectively
obliterated. Lt. Lucy's forces are ordered forward to stabilise the Government's position...
..and set up a firing line along the driveway to Shobdon Court. Just as Mr Hodges' forces look finished, Anglican
reinforcements begin to arrive from the East Table (the Bishop of Lichfield's brown trucks and prime movers
are visible in this shot). Mr Hodges must re-gather his forces for another attempt...
Bugger This! A lone LDV cyclist can't wait for another assault. He pedals furiously forward to the Bateman Coat of
Arms, dodging shot and shell. A swerving turn as he gathers the standard from the Junction roadway, and then a
furious pedal back, weaving from side to side as he evades everything thrown at him. A true Shobdon hero!
[and the Umpires shuffle awkwardly. They had meant the Coat of Arms to be a fixed point to be battled
over, but had forgotten to write in a scenario rule that it could not be moved. Much blather about
apologies, lessons learned, learning points, etc. etc. - but the Bateman Coat of Arms is now with
Mr Hodges - can he hang on to it until the end of the battle?]

THE WAR ILLUSTRATED NO.11 - SECOND BATTLE OF SHOBDON

13. AUTOMOBILE ASSOCIATION HO!


A revving of engines....and the AA are go! Commander Camshaft vaults into the turret of his Rolls Royce
Armoured Car and closes the hatches. Finally, he has his orders. Having failed to obtain the overt support
of any Shobdon LDV (and incurred the outright emnity of Mr Hodges) and seeing the aggressive Communist
advance on the "East Table", Senior Captain Maynard has no option but go get his supply column moving. He
can rely upon the AA's speed of movement - but will this charge be death or glory?
The AA Supply Column turn west out of the driveway of Shobdon Court and into
Shobdon Village. At the rear of the column can be seen some HMG Armoured
Cars in support. At the front of the column,  to the left, Young Mr Grace's van and
Armoured Car. Are they going to intervene?
A reverse shot as the column heads through the village. All is quiet for now, and Young
Mr Grace is finally making supportive noises...will he throw in his lot with HMG
and become the 4th Baron Bateman? Mr Jones' Cricketers look on sullenly, but silently...
The Jones LDV Cricket Section peer over a hedge at the AA Column.
Do they have orders to shoot - or stay their hand?
A panoramic view as the AA column passes Young Mr Grace's armoured car and Shobdon churchyard.
It appears that Young Mr Grace has finally allied himself with HMG... 
Kaboom! Frenzied shouts of "We be Shobdon!", and Mr Jones' men open fire on the AA column
The developing disaster for Senior Captain Maynard. One of the AA trucks burns as Mr Jones'
men pile on the pressure. A Very Important Crate lies on the ground, abandoned.
Mr Jones' men are not yet finished. The Church provides an excellent ambush point..."We be Shobdon!"
And Kaboom ! again. A second AA truck goes up in smoke. Senior Captain Maynard's plan
to "bull through" to Shobdon Airfield with the Very Important Crates is destroyed, and
with it any hope of  Government victory at the Second Battle of Shobdon.

Tuesday, 1 October 2019

THE WAR ILLUSTRATED No.10 - SECOND BATTLE OF SHOBDON

12. GROUND ACTIVITY - WEST

Aerial Threat despatched, the Reds advance on Shobdon Airfield continues. Comrade Professor
Winters' troops execute a classic envelopment advance....
...as Commander Queeg's troops ready their defence. (One could say "circle the wagons"
but they didn't have enough wagons for that - just an RAF lorry and BUF Armoured Car)
But the most important development is across the road from the Airfield......
...where Comrade Gollumroo's flanking mounted infantry reach their objectives and swiftly garrison
the houses. Now they overlook the road leading from Shobdon Court to Shobdon Airfield....
Comrade Professor Winters is so excited that he changes his uniform.
(Ed Note - perhaps that should read : "...had to change his uniform"?)

THE WAR ILLUSTRATED No.9 - SECOND BATTLE OF SHOBDON

11. AERIAL ACTIVITY - WEST !

West of Shobdon Village, Commander Queeg fights on against the Communist Hordes, desperate to keep
Shobdon Airfield open as long as possible. The first of his Transport Planes lines up to make a
landing at the Airfield, ready to receive those Very Important Crates...

...and are soon joined by two others. Queeg telephones Senior Captain Maynard : "I've done my bit already. Get those Very Important Crates to me, and I can get them away to Hereford and save them - and possibly you!". 
It's all happening around Shobdon Airfield now. Queeg sends up a newly arrived BUF Henschel HS123 Fighter Bomber on a search and destroy mission. With so many Communists heading towards the Airfield, there is
little need to "Search". The pilot reaches for his bomb lever - "Destroy"!

Bombs away! The casualties below are slight, but the return fire is very heavy.....
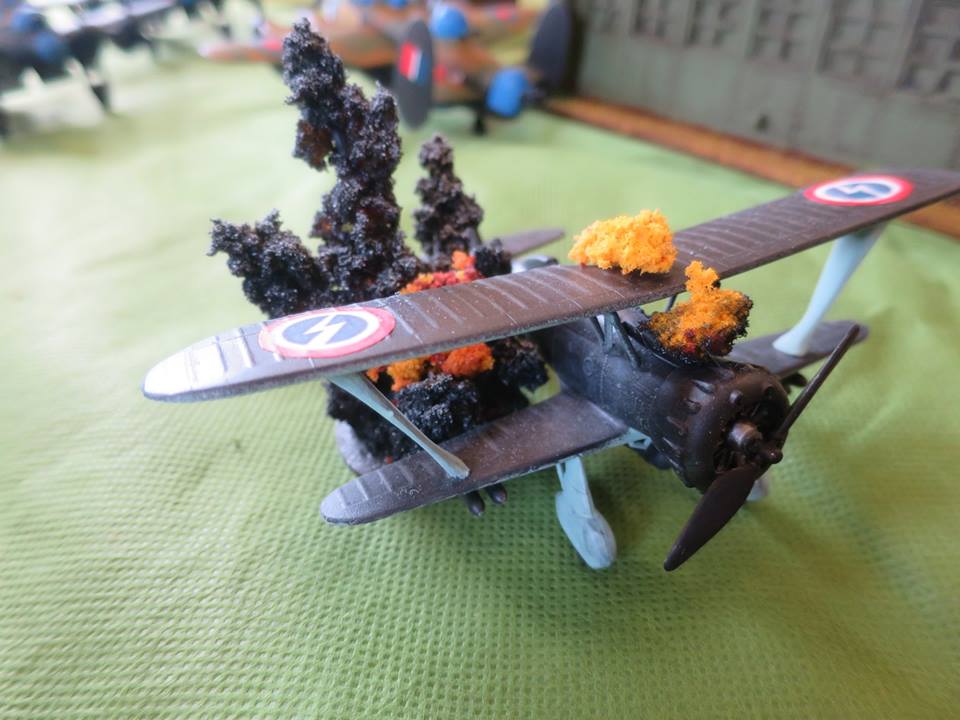
....and the Henschel crashes to earth on the airfield perimeter, shot down!
Comrade Professor Winters' Propaganda Bureau like this photograph. It will be endlessly reproduced
in "The Presteigne Red Banner" - Death to all Fascists! Commander Queeg's stalwart (veteran/experienced/
heroic) defenders groan, and again turn to face the enemy....

THE WAR ILLUSTRATED NO.8 - SECOND BATTLE OF SHOBDON

10. BATTLE IS JOINED - CENTRE!

To the east of the "Central Table", the LDV forces of Mr Hodges advance with rather more
determination. Two armoured cars (one a "Lash Up Mk.1") advance down the road to Shobdon Village,
flanked by infantry sections. Mr Hodges has the assurance of Anglican reinforcements....
Boom! With a last despairing cry of "Pacifism Forever!", Miss Florence Cholmondley-Warner immolates
 herself in the cause of peace, right in front of Mr Hodges' Cavalry Section. The check proves temporary..
Just as Scamp, her beloved pooch (Arf! Arf! Woof!) explodes himself in front of Mr Hodges' advancing armoured cars.
The armoured cars are slightly damaged, but continue on. Mr Hodges has cause to detect the hand of
Senior Captain Maynard behind this high explosive activity...

THE WAR ILLUSTRATED No.7 - SECOND BATTLE OF SHOBDON

9. BATTLE IS JOINED - CENTRE?

While the forces East and West of Shobdon exchange first fusillades, the action around Shobdon Court (centre table)
is strangely muted. Here, Young Mr Grace deploys his forces quietly in "all round defence", assuring Senior
Captain Maynard of his honourable intentions but refusing an open alliance. To the rear of Young Mr Grace's
command just be seen the forces of newly commissioned Lieutenant Lucy, No.2 to Staff Captain Maynard (blue van).
In the same area lurks Miss Primula Cholmondley-Warner (blue skirt and "big red tomato")
Equally quietly, Mr Jones occupies Shobdon Village. Here, his cricket team warily advance.
Of course, he has the same entirely honourable intentions with regard to HMG, but no,
he won't enter into an alliance either. Senior Captain Maynard wonders why....
When will the order be given? The AA Truck Column still waits in the grounds of Shobdon Court.
Captain Camshaft (waving pistol) makes anxious enquiries of his ADC, Patrolman Nolan.
BUF Support Vehicles can be seen in the rear of this photo.